Guide
How to edit a multicam podcast in Final Cut Pro, Premiere Pro and DaVinci Resolve
By Lev PerlmanUpdated 4 min read
To edit a multicam podcast, put every camera and microphone recording of the session into one multicam clip, sync them by audio, play through the conversation switching to whoever is speaking, then refine the cuts and the sound. All three major editors work the same way in outline. The menus differ, so each is covered step by step below.
Before you start: organise the files
- Put each camera's files and each microphone's audio in its own folder or bin, named by person ("Host camera", "Guest mic").
- If a camera split its recording into several files, keep them together and in order.
- Decide which audio you will use in the final edit: normally the dedicated microphones, mixed into one dialogue track.
Step 1: Create a multicam clip synced by audio
Final Cut Pro
- Select every camera clip and audio file from the session in the browser.
- Choose File > New > Multicam Clip.
- Use the custom settings and turn on Use audio for synchronization. You can also set how angles are named and ordered.
- Final Cut Pro lines the angles up using each one's audio waveform.1
Premiere Pro
- Select the clips in the Project panel, right-click and choose Create Multi-Camera Source Sequence.
- Under Synchronize Point, choose Audio.2
- Right-click the new multi-camera source and choose New Sequence from Clip.
DaVinci Resolve
- Select the clips in the Media Pool, right-click and choose Create New Multicam Clip Using Selected Clips.
- Set Angle Sync to Sound. Blackmagic Design lists syncing multicam clips by audio waveform, timecode or in and out points.3
- Put the multicam clip on a timeline.
If a sync fails, check that every camera recorded sound, and trim long stretches before the conversation starts. Our syncing guide covers the common problems.
Step 2: Set the audio once
Before cutting, make sure the multicam clip plays the audio you want regardless of the visible angle. Use the dedicated microphones, not the cameras' built-in mics, and mix them into one dialogue track. Otherwise the sound changes every time you switch camera. If the mics pick each other up, see how to remove mic bleed.
Step 3: Switch angles as the conversation plays
- Final Cut Pro: open the Angle Viewer, play the timeline and click an angle (or press its number key) to cut to it.
- Premiere Pro: turn on Multi-Camera view in the Program Monitor, play, and press the number keys to cut between cameras.4
- DaVinci Resolve: switch the source viewer to the multicam view, play, and click an angle or press its number key.
Rules of thumb for a natural conversation edit:
- Show the person speaking. Cut shortly after a new speaker starts, not on the first syllable.
- Hold shots. Very short shots feel frantic. Do not cut away for a one-word interjection.
- Use reactions on long answers. A short shot of the listener nodding or laughing breaks up a long take.
- Go wide when people overlap. If two people talk at once, a wide shot shows both.
Step 4: Refine the cuts
Watch the edit back and fix the cuts that land early or late. Each editor has a rolling edit tool that moves a cut point without changing the length of the edit, and you can change the angle of any section after the fact, because every angle is still inside the multicam clip.4
Step 5: Finish the sound and export
Level the dialogue, add your intro and outro, check the loudness for your podcast host and export. Keep the project: it is also the source for your short social clips.
Doing the first pass automatically
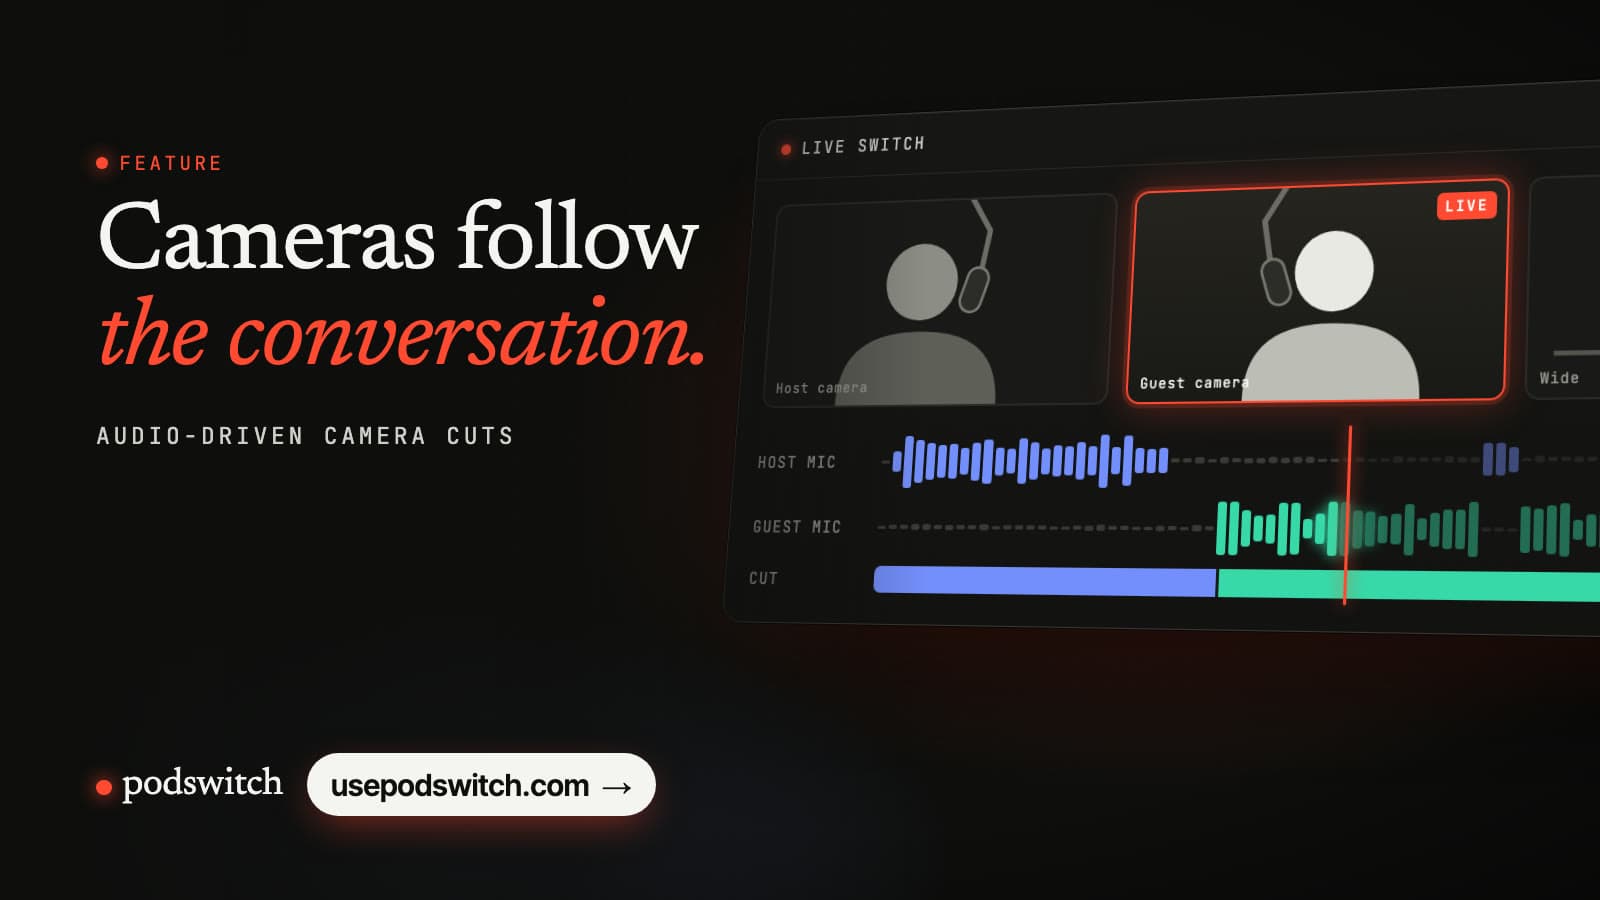
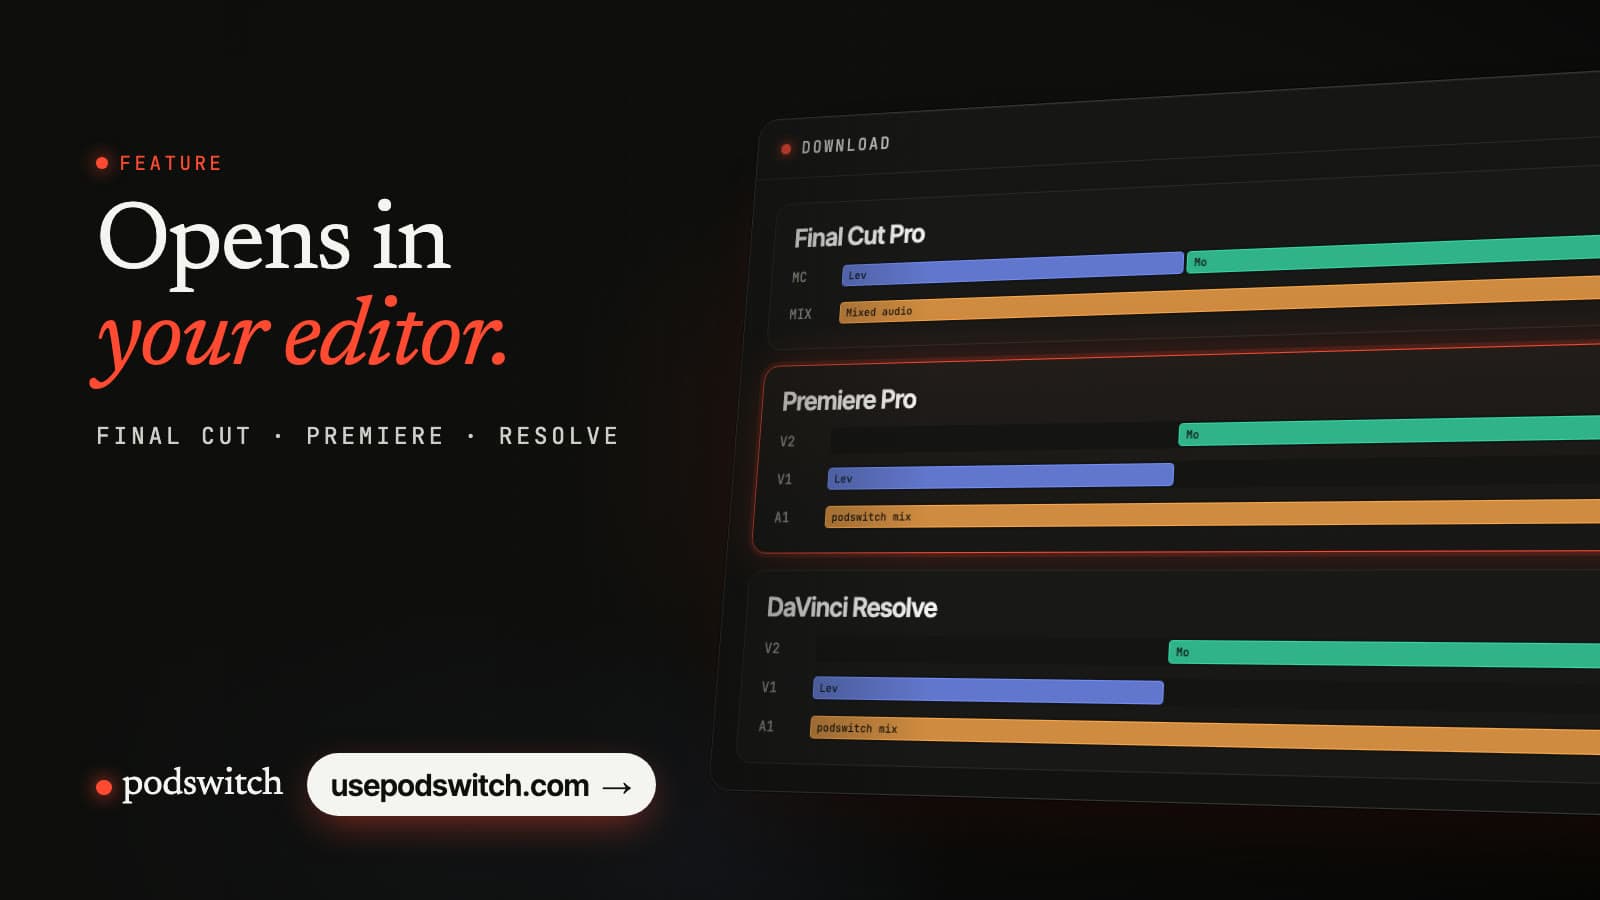
Steps 1 to 3 are the slow, repetitive part, and they are what podswitch does for you. It syncs every camera and microphone by sound, decides each cut from the microphones (the speaker, reaction shots on long answers, the wide when people talk over each other), and builds a dialogue mix with the bleed removed. Final Cut Pro gets a multicam clip with every angle, already cut, so any decision is one click in the Angle Viewer. Premiere Pro and DaVinci Resolve get the cut timeline with one track per camera. You start at Step 4.
Sources
-
Apple, Final Cut Pro User Guide, "Create multicam clips". https://support.apple.com/guide/final-cut-pro/create-multicam-clips-ver23c764f1/mac ↩
-
Adobe Help, "Create a multi-camera source sequence". https://helpx.adobe.com/premiere/desktop/edit-projects/set-up-multi-camera-sequences-for-editing/create-a-multi-camera-source-sequence.html ↩
-
Blackmagic Design, DaVinci Resolve Edit page. https://www.blackmagicdesign.com/products/davinciresolve/edit ↩
-
Adobe Help, "Create and edit a multi-camera target sequence". https://helpx.adobe.com/premiere/desktop/edit-projects/set-up-multi-camera-sequences-for-editing/create-and-edit-a-multi-camera-target-sequence.html ↩ ↩2
Common questions
What is a multicam clip?
A multicam clip groups the recordings of the same moment from several cameras and microphones, synced together, so you can cut between camera angles in one timeline as if you were vision mixing live.
How do I sync cameras without a clapperboard?
Use audio sync. Final Cut Pro, Premiere Pro and DaVinci Resolve can all line clips up by comparing their audio waveforms, as long as every camera recorded some sound, even from its built-in microphone.
Which audio should a multicam podcast use?
The dedicated microphones, not the cameras' built-in mics. Use one clean dialogue track across the whole edit, so the sound does not change every time you switch camera.
How long does it take to edit a multicam podcast by hand?
It depends on the length, the number of cameras and how polished you want it. Switching angles happens in real time while the episode plays, so an hour-long episode needs at least an hour for the first pass, plus time to refine cuts and fix the audio.