Guide
How to edit a video podcast in Final Cut Pro, step by step
By Lev PerlmanUpdated 6 min read
To edit a video podcast in Final Cut Pro, create a multicam clip from every camera and microphone recording with audio sync turned on, put it in a project, switch angles in the Angle Viewer as the conversation plays, then clean up the sound with the audio enhancements and export with Share. This guide goes through each step in Final Cut Pro for Mac 12.4, the current version at the time of writing.1
Before you start: what you need
- Final Cut Pro for Mac. It costs £299.99 as a one-off purchase on the UK Mac App Store,2 or it is included in Apple Creator Studio at £12.99 a month or £129 a year, with a 30-day free trial for new subscribers.3 The current version needs macOS 26.6 or later.4
- Every recording from the session: each camera, and each person's microphone if you recorded them separately.
- Clear clip names. Rename each clip after the person or shot ("Sarah close", "Wide"). Final Cut Pro can use the clip names as the angle names, which makes switching easier.5
Step 1: Create a multicam clip synced by audio
- Import everything into an event, then select every camera clip and audio file from the session in the browser.
- Choose File > New > Multicam Clip.
- Click Use Custom Settings. Set Angle Assembly to Clips, so each clip becomes its own angle named after the clip.
- Turn on Use audio for synchronization, then click OK.5
Final Cut Pro lines the angles up by their audio waveforms. Apple notes that some recordings are not suited to audio sync and that it can take a while on long clips.5 If it fails, check that every camera recorded sound and trim long stretches before the conversation starts. Our syncing guide covers the common problems.
Step 2: Put it in a project and set the audio once
- Create a new project and drag the multicam clip into the timeline.
- Open the Angle Viewer with View > Show in Viewer > Angles (Shift-Command-7).6
- In the top left of the Angle Viewer, click Enable video-only switching. From now on, only the picture changes when you cut. The audio from the original angle stays active.6
- Choose the audio you want across the whole episode, normally the microphones rather than the cameras' built-in mics. You can Option-Command-click another angle to add its audio to the active angle,6 or set it later with Active Audio Angle in the timeline shortcut menu.7
Step 3: Cut between the cameras
Play the project from the start and switch as the conversation happens:
- Press a number key to cut and switch to that angle in the current bank, or click the angle in the Angle Viewer.6
- Hold Option while pressing a number key, or Option-click, to switch the current shot without adding a cut.6
- Do the whole episode in one pass. You fix the details in the next step.
Rules of thumb for a natural conversation edit:
- Show the person speaking. Cut shortly after a new speaker starts, not on the first syllable.
- Hold shots. Very short shots feel frantic. Do not cut away for a one-word interjection.
- Use reactions on long answers. A short shot of the listener nodding or laughing breaks up a long take.
- Go wide when people overlap. If two people talk at once, a wide shot shows both.
Final Cut Pro does not make this first pass for you. As of version 12.4, Apple's release notes list no automatic, speaker-based multicam switching.1
Step 4: Refine the cuts
- Change an angle: Control-click a section in the timeline, choose Active Video Angle and pick another camera. The same option is in the Info inspector.7
- Move a cut: drag the edit point with the Trim tool. A roll edit moves the cut without changing the length of the episode.
- Remove a false start or long pause: select the range and delete it. Every angle is still inside the multicam clip, so you can change your mind later.
Step 5: Clean up the sound
Select the dialogue and open the Audio Enhancements section of the Audio inspector. Final Cut Pro has five enhancements:8
- Loudness makes the main signal stronger and more even.
- Voice Isolation prioritises voices over everything else in the recording. You turn it on manually.
- Noise Removal reduces background noise.
- Hum Removal removes mains hum at 50 or 60 Hz. In the UK, mains electricity runs at 50 Hz.
- Equalization shapes the tone. You turn it on manually.
Modify > Enhance Audio (Option-Command-A) analyses the clip and applies fixes automatically.8 If two microphones sound different, Modify > Match Audio (Shift-Command-M) uses EQ to match one clip's sound to another's.9 If each person's microphone picked up the others, see how to remove mic bleed.
Step 6: Export the episode
- Video: choose File > Share > Export File (Command-E). Set Format to a mastering format, or choose the Social Platforms destination (previously YouTube & Facebook), which saves a file ready to upload.1011
- Audio for podcast apps: in Export File, set Format to Audio Only and choose an audio format.12
- Captions: Edit > Generate Captions (formerly Transcribe to Captions) creates captions from the speech. Apple says it needs a Mac with Apple silicon and works in US English only.13 Our captions guide covers the alternatives.
- Short clips: Modify > Smart Conform reframes clips for square or vertical delivery.14 Our guide to turning a podcast into short clips covers what to pick.
Watch it done
Two independent tutorials show the multicam workflow on screen. The first is the most watched; the second is specific to podcasts and interviews.
Doing the first pass automatically
Steps 1 to 3 are the slow, repetitive part, and they are what podswitch does before you open Final Cut Pro. It syncs every camera and microphone by sound, decides each cut from each speaker's own microphone (the speaker, reaction shots on long answers, the wide when people talk over each other) and builds a dialogue mix with the bleed removed. Your video stays on your Mac: podswitch only uploads the audio.
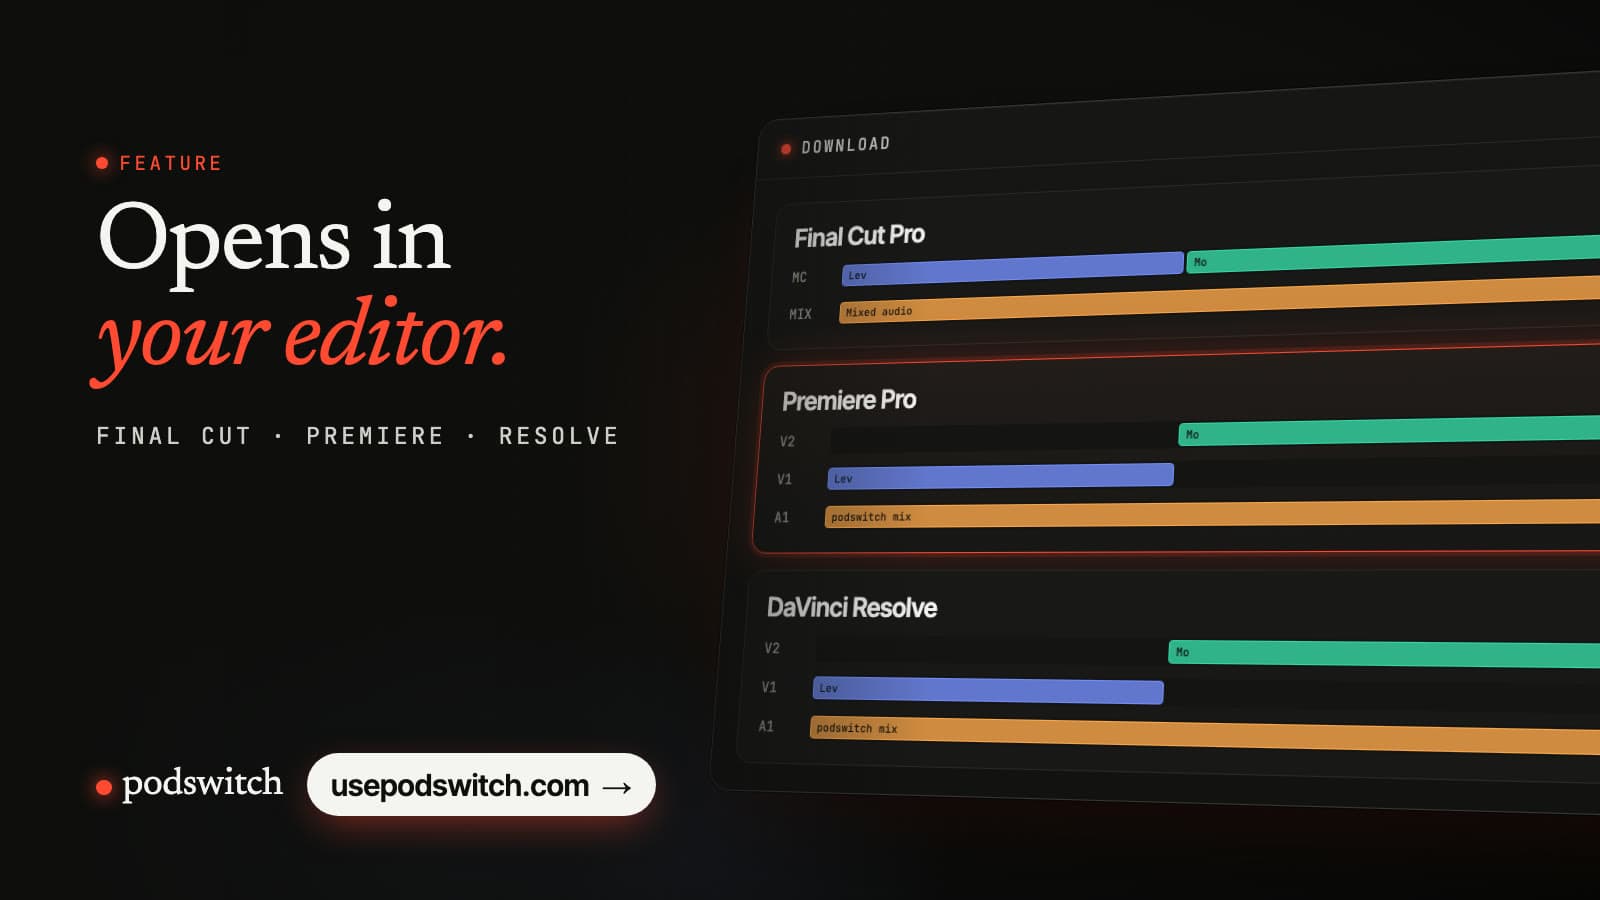
You get an FCPXML file. Import it with File > Import > XML15 and you get a multicam clip with every angle plus a project that is already cut, so changing any decision is one click in the Angle Viewer. You start at Step 4. Our import guide goes through it.
Editing in a different program? See the guides for DaVinci Resolve and Premiere Pro.
Sources
-
Apple, "Final Cut Pro for Mac release notes" (version 12.4, released 29 September 2026). https://support.apple.com/en-gb/102825 ↩ ↩2
-
Apple, Final Cut Pro on the UK Mac App Store. https://apps.apple.com/gb/app/final-cut-pro/id424389933?mt=12 ↩
-
Apple (UK), Final Cut Pro. https://www.apple.com/uk/final-cut-pro/ ↩
-
Apple Support, "About Apple Creator Studio". https://support.apple.com/en-gb/125029 ↩
-
Apple, Final Cut Pro User Guide, "Create multicam clips". https://support.apple.com/guide/final-cut-pro/create-multicam-clips-ver23c764f1/mac ↩ ↩2 ↩3
-
Apple, Final Cut Pro User Guide, "Cut and switch camera angles". https://support.apple.com/guide/final-cut-pro/cut-and-switch-camera-angles-ver23c76c9c/mac ↩ ↩2 ↩3 ↩4 ↩5
-
Apple, Final Cut Pro User Guide, "Edit multicam clips". https://support.apple.com/guide/final-cut-pro/edit-multicam-clips-ver23c76d65/mac ↩ ↩2
-
Apple, Final Cut Pro User Guide, "Enhance audio". https://support.apple.com/guide/final-cut-pro/enhance-audio-verc1fab873/mac ↩ ↩2
-
Apple, Final Cut Pro User Guide, "Match audio". https://support.apple.com/guide/final-cut-pro/match-audio-ver1632db40/mac ↩
-
Apple, Final Cut Pro User Guide, "Export final mastering files". https://support.apple.com/guide/final-cut-pro/export-final-mastering-files-ver0192a47b8/mac ↩
-
Apple, Final Cut Pro User Guide, "Social Platforms destination". https://support.apple.com/guide/final-cut-pro/youtube-facebook-destination-ver1d41f8374/mac ↩
-
Apple, Final Cut Pro User Guide, "Export File destination". https://support.apple.com/guide/final-cut-pro/export-file-destination-ver13664388c/mac ↩
-
Apple, Final Cut Pro User Guide, "Generate captions". https://support.apple.com/en-gb/guide/final-cut-pro/vere399dab5e/mac ↩
-
Apple, Final Cut Pro User Guide, "Adjust framing with Smart Conform". https://support.apple.com/guide/final-cut-pro/adjust-framing-with-smart-conform-ver26664d93f/mac ↩
-
Apple, Final Cut Pro User Guide, "Import XML". https://support.apple.com/en-gb/guide/final-cut-pro/verdbd66ae/mac ↩
Common questions
How much does Final Cut Pro cost in the UK?
It is £299.99 as a one-off purchase on the UK Mac App Store, or included in Apple Creator Studio, which Apple lists at £12.99 a month or £129 a year with a 30-day free trial for new subscribers.
Can Final Cut Pro switch podcast cameras automatically?
Not as of version 12.4. Its multicam tools let you cut live in the Angle Viewer and change any angle afterwards, but Apple's release notes list no automatic speaker-based switching.
Do I need a clapperboard to sync cameras in Final Cut Pro?
No. When you create a multicam clip, turn on Use audio for synchronization and Final Cut Pro lines the angles up by their audio waveforms. Every camera needs to have recorded some sound.
How do I keep the sound the same when I switch cameras?
Turn on video-only switching in the Angle Viewer. Only the picture changes when you cut, and the audio from your chosen angle stays active.